Coloring process in film has multiple steps. Color corrections vs color grading , what’s the difference ? . This is a question always faced by many. Both color correction and color grading are important steps in the overall film coloring process.
They are not independent of each other. Color grading is generally built on top of a color corrected image (video). Lets take a deep dive in both these steps and understand what’s common and what’s different between color grading and color correction.
Typical color grading process
For most professional coloring jobs the color correction is actually a step before color grading is done.
Color grading or film coloring involves a lot of steps depending on the details to which you want to go. However below table gives you some basic steps in film coloring and results that you can expect at the end of it. First three steps are mostly together referred as color correction.
| Step | Primary objective |
| Color space transformation | Transferring the image from color space it was shot in to the one required for broadcast ( REC 709) |
| Exposure correction | Adjust the exposure of the image to get the highlights and shadows to look as per requirement of the scene. Getting the mid-tones at the right range. |
| Colour correction | Adjust the white balance and remove any color cast in the image. Adjust overall color saturation of the image. |
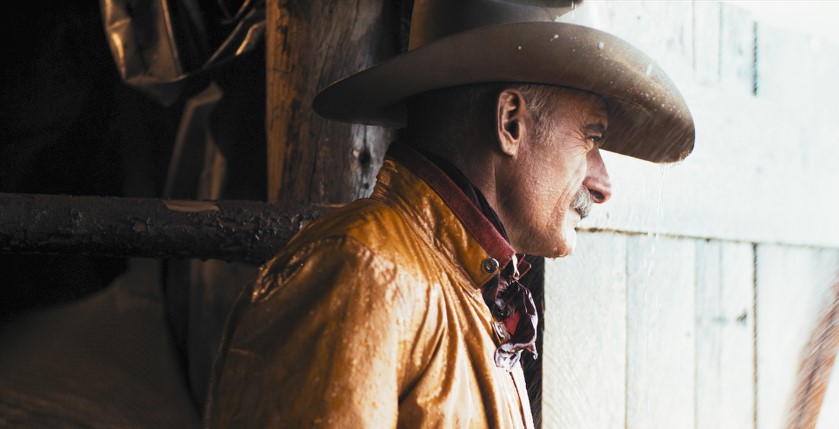
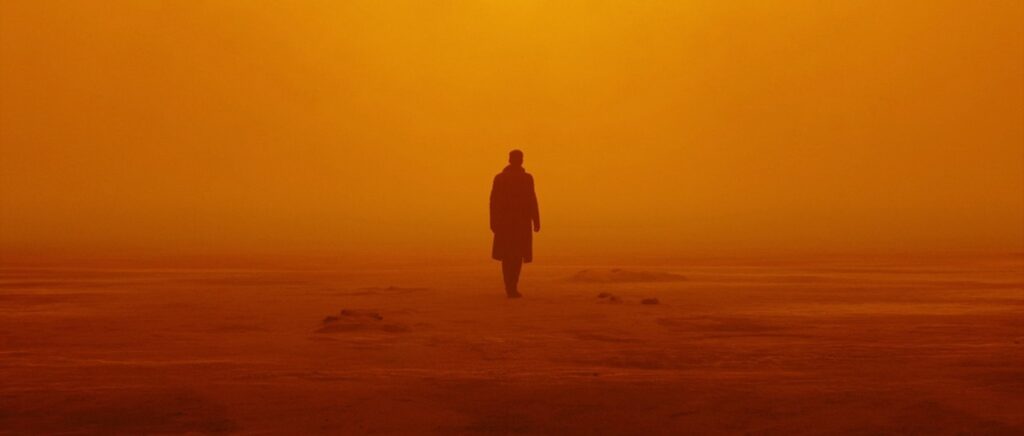
| Primary grading | Adjust the overall color profile of the image to get the required look. A typical teal and orange look will force teal color in shadows and orange in highlights. |
| Secondary grading | Fine-tune the various selective areas of the image. This generally involves adjusting skin tones , face , eyes , specific cloth colors , sky adjustment and many other things |
| Applying Luts or film emulations | In this step the required LUT or film emulation is applied based on requirement of the image or project. |
| Adding special effects such as glow , flare etc. | Special effects are added once the girding is complete. They add fine details to some sections of the image to make it more stylish or realistic. |
| Adding film grain | Grain is generally the last step before rendering. Adding film grain give film look to digital footage. |
What is color correction
Color correction is the process where you prepare the image and bring it to a level where it feels natural to the eye.
As the name suggests the color correction process involves correcting something that has gone wrong while shooting or something that is not looking the way it should be.
Color correction does not really add anything extra ( in terms of colors ) to the scene , it just brings it to the way it was shot in the first place.
Once the image is color corrected the color grading can take place, which is a more creative phase of the coloring process.
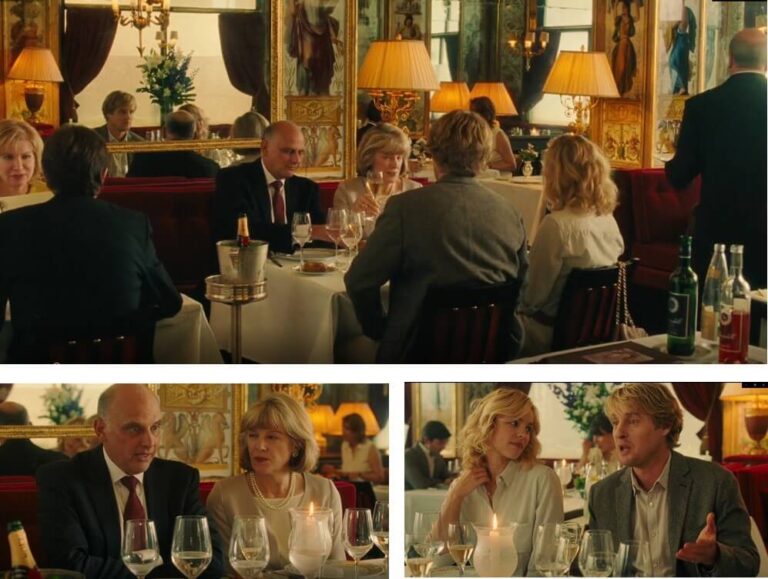
Here is an example of before and after basic color correction.

Color correction is more of a technical step in films post production. Film colorists adjust color, contrast, exposure, and other details of film footage using editing software. The idea is to make it look the same way that human eye perceives it in real-life.
Technical color errors can also be corrected by the colorist. A film colorist can correct lighting problems that may affect actors’ performances.
Color correction is also used to make VFX blends in naturally and looks natural as well.
What is color grading ?
A step by step process of manipulating the image in terms of exposure , contrast and color is known as color grading. Color grading is used to add or enhance color in the image which were originally not there or were muted in the original footage.
Color grading can be fairly simple in some cases or can be really complicated depending on the end result you want to achieve with your image and the original image itself.
This is the step in film making where you deliberately manipulate the image in order to make it look like what you want it to look like.
Color grading refers to the art of “painting” over the existing color correction to stylize the color scheme in your footage. After color correction is completed, the colorist can start the process of grading the footage.
Colorists use editing software in color grading to enhance the movie’s visual tone and atmosphere and make it look more cinematic. Color grading is used for both technical and creative purposes.
Split toning , teal and orange , over saturated look , retro look , bleach bypass look and many other are typical color grading terms.
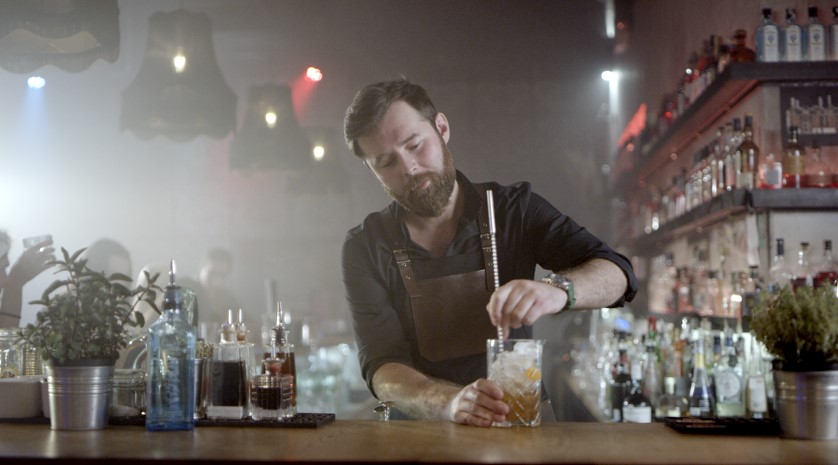
Here is an example with the basic RAW image , color corrected image and color graded image.
Exact difference between color correction and color grading
Though both color grading and color correction are part of the same film coloring process, there are some key differences.
- Color correction is a technical process and does not involve a lot of creative freedom. The footage is supposed to look natural at the end of color correction. Color grading is more creative process. The footage at the end of color grading can look completely different from what was shot.
- Color correction is the first step in coloring process and does not involve DP or director a lot. Color grading is always done in sync with DP and director of the film and is an expression of how they wanted the film to look .
- The step of Color correction does not add , subtract or enhance any color in the image. It just corrects what is not right in terms of hue , saturation , exposure , contrast etc. Color grading on the other hand does exactly opposite. It adds , subtracts or enhances colors which were not there in the original image.
- Color correction is a starting process while color grading is a finishing process. A bad color correction will also ruin the color grading.
- Color grading gives the film a distinct “look” and that’s what people remember. For example Teal and orange is a typical look people target for color grading. The Color correction on the other hand does not give any distinct look.
- Color correction is typically used for small commercials , interviews , YouTube videos and most non professional work. Color grading on the other hand is typically done for feature films , product commercials , music videos etc.

Steps involved in color correction
All colorists have their own process of color correction , but here is something that can be used as a starting point for new colorists.
Step 1 : Adjust for camera profile
Pre-set picture profiles allow you to alter the footage that your camera captures. A picture profile is a set or parameters that establish the basic characteristics of your footage (like saturation, tone, and color).
This gives your film a consistent look. Flat or log color profiles are preferred by some filmmakers for shooting. This creates neutral, low-contrast footage that can be enhanced by colorists during post-production.
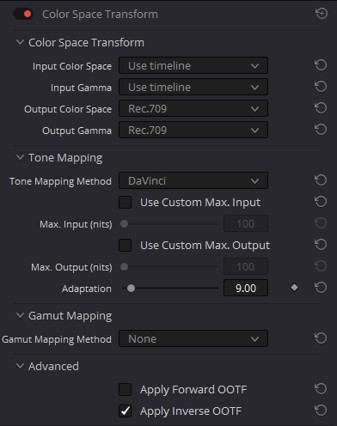
The first step generally involves getting your image from the profile in which it was shot to the profile used for broadcast i.e REC 709.
Step 2 : Adjust white balance
The next step is to adjust the white balance. This is always the first step in color correction as everything else depends on getting the right white balance.
Adjust the color temperature and tint sliders to get the right white balance. Many color correction tools also have a tool where you can pick something in the image that is white and it automatically adjusts the white balance.
One can also select the white and black points , use curves or color wheels to get the white balance right.

Sometimes there are no whites in the image and you have to rely on something else for white balance. Here is a video explaining how to adjust white balance without whites being present in the video.
Step 3 : Adjust exposure
In this step you should try and adjust the overall exposure of the image. The white and black points should be clearly identifies and should lie in dark and highlight region.
The exposure adjustment involves adjusting the dark , the white regions and the mid-tones as well. All three regions can be adjusted independently to get a good exposure which highlights the subject
Step 4 : Adjust and remove color casts
Many a times there are certain colors are more dominant in certain tonal range of the image. You can use the scopes to see the high and low levels for red , green and blue channels.
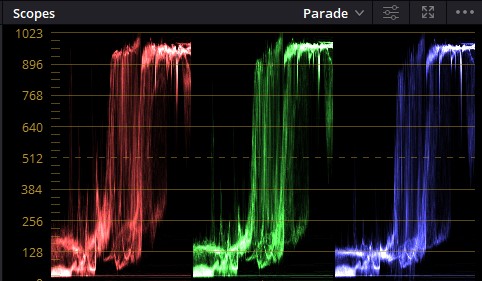
Looking at scopes you can identify which color is more dominant in shadows and drop it off , adjust , fine tune the color balance in shadows. Same process can be repeated for highlights and mid-tones as well.
Step 5 : Match all shots of same nature
In this step the basic color correction is applied to all the shots of the same nature. Many color grading tools have dedicated tools to match color from one shot to other.
One can also use a LUT to match the overall color tones of all scenes.
Step 6 : Fine tune specific colors and skin tones
All the steps prior to this were affecting the overall images as such. In this step we fine tune certain specific and obvious colors in the image.
Adjusting for more natural skin tones , blue skies , trees , tarmac roads etc. are quite commonly done. Color correction is all about getting more natural look.

Humans always associate a certain color with some objects so it is essential to get those colors accurately while correcting colors.
Final Words : Color correction vs color grading
A colorist needs to master both these techniques to become a successful professional color artist.
Color correction and color grading are complementary to each other and color grading depends on color correction as a starting point.
Color correction is more technical while color grading can be more artistic and creative in nature.