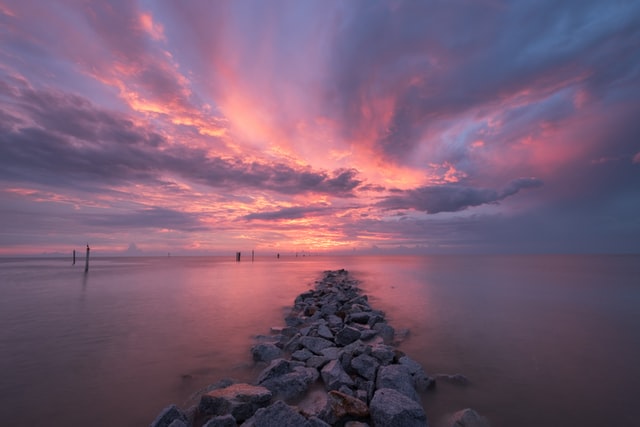

There is a reason every photographer talks about golden hour. That 30–60 minute window just after sunrise or just before sunset bathes everything in warm, directional, flattering light that makes ordinary scenes look extraordinary. But if you’ve ever stood out there with your camera and wondered why your shots aren’t matching what your eyes see — you’re not alone.
The secret isn’t just being there. It’s knowing the right camera settings, and understanding why they work at golden hour. This guide breaks it all down, from shutter speed to color grading your golden hour shots in post.
What Makes Golden Hour Light Special?
Golden hour light has three unique qualities that make it a photographer’s dream:
- Direction — the sun is low on the horizon, creating long shadows and natural depth
- Warmth — the light has a color temperature of roughly 2,000–3,000K, heavily orange and amber
- Softness — sunlight travels through more atmosphere at a low angle, scattering the harsh blue spectrum and leaving warm, diffused light
Understanding these qualities will directly inform your camera settings. Golden hour requires you to expose for light that is beautiful but often low in intensity and rapidly changing — which is where most beginners make mistakes.
The Ideal Camera Settings for Golden Hour

These are starting-point settings. Adjust from here based on your specific scene, subject, and creative intent.
Shoot in RAW Format (Non-Negotiable)
Golden hour light changes color temperature dramatically within minutes. RAW files give you complete control over white balance in post. JPEG compresses and bakes in your in-camera settings — you lose latitude to adjust. Always shoot RAW at golden hour, even if you convert to JPEG later. The flexibility in post is worth it, especially when you want to enhance those warm tones in Lightroom without the image falling apart.
White Balance: Manual or Cloudy Setting
Do not use Auto White Balance (AWB) at golden hour. Your camera’s AWB will try to neutralize the warm light, robbing you of the very quality that makes golden hour gorgeous. Instead:
- Set white balance to Cloudy (6500K) or Shade (7500K) to amplify the warmth
- Or set a manual Kelvin value around 6000–7000K to taste
If you’re shooting RAW, you can also leave it on Auto and correct in post — but setting manually helps you nail the look on the LCD and compose confidently.
Aperture: f/1.8 to f/4 for Portraits, f/8–f/11 for Landscapes
Your aperture choice at golden hour depends on your subject:
For portraits — use a wide aperture like f/1.8–f/2.8. Golden hour with a wide aperture creates beautiful subject separation, and the warm background bokeh balls of light are iconic. This is the look that defines golden hour portrait photography. If you’re using a prime lens, this is where it shines — see our guide to Sigma Art lenses, which are exceptional performers in low light for exactly this purpose.
For landscapes — use f/8 to f/11 to ensure foreground to background sharpness. Understanding foreground composition is crucial in landscape photography — a sharp, interesting foreground makes your golden hour landscape breathe with depth.
Shutter Speed: Match the Light, Mind the Motion
As golden hour progresses, the light drops fast. A general starting point:
- Early golden hour: 1/500s–1/1000s (still bright enough for fast shutters)
- Mid golden hour: 1/200s–1/500s
- Late golden hour (approaching sunset): 1/60s–1/125s — consider a tripod
If you’re handholding, follow the reciprocal rule: your shutter speed should be at least 1/(focal length). Shooting a 50mm lens? Stay above 1/50s. Shooting at 200mm? Stay above 1/200s. For portraits, faster is better to freeze any movement.
ISO: Start Low, Raise When Necessary
Start at ISO 100–400 during brighter periods of golden hour. As light fades, raise to ISO 800 or even 1600 if needed. Modern cameras handle ISO 1600 beautifully, and in post-processing you can apply a touch of film grain to mask any digital noise while adding cinematic texture. Don’t be afraid of a little grain — especially at golden hour, it feels right.
Exposure Compensation: Expose for the Subject
Golden hour often creates extreme dynamic range scenes — a brilliantly lit subject against a bright sky. Your camera’s metering will often underexpose your subject trying to protect the highlights. Dial in +0.7 to +1.3 stops of exposure compensation for portraits shot against sunset backgrounds. Check your histogram: protect detail in highlights but don’t sacrifice the subject.
Quick-Reference: Golden Hour Settings Card
| Setting | Portraits | Landscapes |
|---|---|---|
| Format | RAW | RAW |
| White Balance | Cloudy / 6500K | Cloudy / 6000–7000K |
| Aperture | f/1.8–f/2.8 | f/8–f/11 |
| Shutter Speed | 1/200s–1/500s | 1/30s–1/125s (tripod) |
| ISO | 100–800 | 100–400 |
| Metering | Spot / Center-Weighted | Evaluative / Matrix |
| Exp. Comp. | +0.7 to +1.3 | 0 to -0.7 |
Composition Tips for Golden Hour

Settings get you the technical foundation. Composition makes the shot memorable.
Use the Rule of Thirds
Place your horizon line on either the upper or lower third of the frame — not the middle. If the sky is dramatic, give it two-thirds of the frame. If the foreground is strong, give that more space. The rule of thirds is one of the most powerful composition tools you can learn, and golden hour is the perfect practice ground.
Shoot Into the Light (Carefully)
Backlighting your subject at golden hour creates beautiful rim lighting, hair light on portrait subjects, and ethereal silhouettes. Expose for the subject’s face (use spot metering on the skin or dial in positive exposure compensation), and let the background go slightly bright and blown. This is intentional — it’s the “dreamy” look.
Watch for lens flare when shooting into the sun. It can be used creatively or avoided with a lens hood — both are valid choices depending on the mood you want. Our guide on using a camera lens hood explains the tradeoffs clearly.
Find Leading Lines and Long Shadows
The low angle of golden hour light creates long dramatic shadows that become natural leading lines. Roads, fences, pathways, shadows from trees — all of these direct the viewer’s eye through the frame. Seek them out actively.
Post-Processing Your Golden Hour Shots
Golden hour images straight from camera are often flatter than what you perceived visually. Your eyes dynamically adapt to the scene — your camera captures a single static exposure. In post-processing, you need to rebuild some of that dynamic impression.
Enhance, Don’t Overdo
In Lightroom: raise Shadows +20 to +30, pull Highlights down slightly, and boost Whites. This restores the “perceived” dynamic range. Then, in the Color Grading panel, push Highlights toward amber/orange (Hue: 40, Saturation: 15) and Shadows toward a barely-blue tone (Hue: 220, Saturation: 10). This creates that gorgeous cinematic split tone that makes golden hour shots look like they came from a feature film.
Watch the White Balance in Post
Many beginners over-warm their golden hour shots in Lightroom and end up with unnatural orange skin. Use the HSL panel to bring back natural skin tones by slightly reducing the saturation of your Red and Orange channels, while leaving overall warmth intact. According to Adobe’s color grading documentation, managing skin tones independently of overall color temperature is one of the most important habits to develop.
Deal with Color Casts
Sometimes golden hour mixes warm sunlight with ambient skylight, creating uneven color casts across the frame. If you notice this, our guide on how to deal with color cast in photography walks you through fixing it efficiently.
The Best Lenses for Golden Hour
While any lens can capture golden hour, some are better suited:
- 50mm f/1.8 — the classic choice. Affordable, sharp, and wide enough to isolate subjects beautifully at golden hour
- 85mm f/1.4 or f/1.8 — the portrait golden hour lens. Flattering compression, beautiful background separation
- Wide angle (16–35mm) — ideal for golden hour landscapes where you want expansive skies and strong foregrounds
- Canon or Nikon 50mm primes, or the excellent Sigma Art lineup for budget-conscious shooters
Plan Your Golden Hour Shoot
Golden hour is predictable — use that to your advantage. Apps like PhotoPills or The Photographer’s Ephemeris let you know exactly when and where the sun will be, helping you scout locations in advance. Arriving 20–30 minutes early gives you time to set up, check the light direction, and compose before the best light arrives.
Golden hour is short. The best light often lasts only 15–20 minutes. Know your settings in advance, have your composition planned, and be ready to shoot the moment that warm quality of light falls exactly as you imagined.
Master these settings and habits, and golden hour will stop being a source of frustration and start being the most exciting time of your photography day. The light is extraordinary — all you need to do is be ready for it.
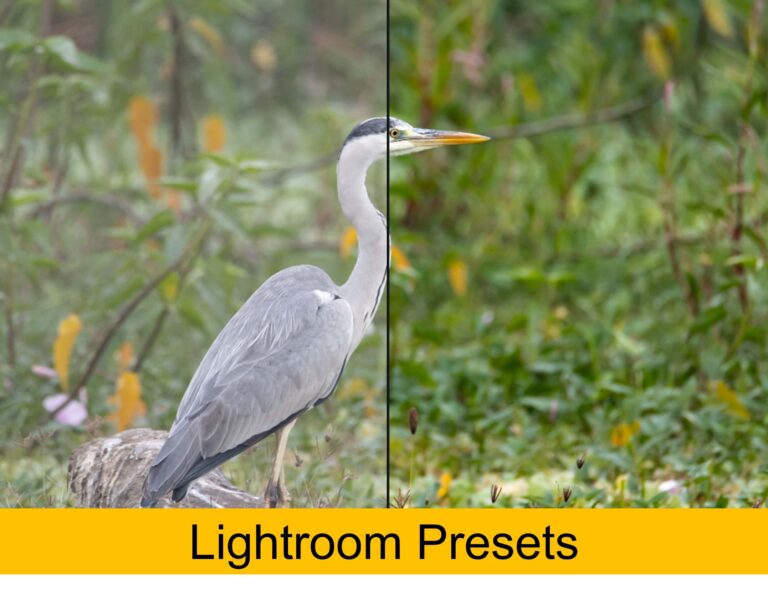
Want to improve your post-processing? Explore our full guides on Color Grading, Lightroom Presets, and Photography Basics to take your images to the next level.